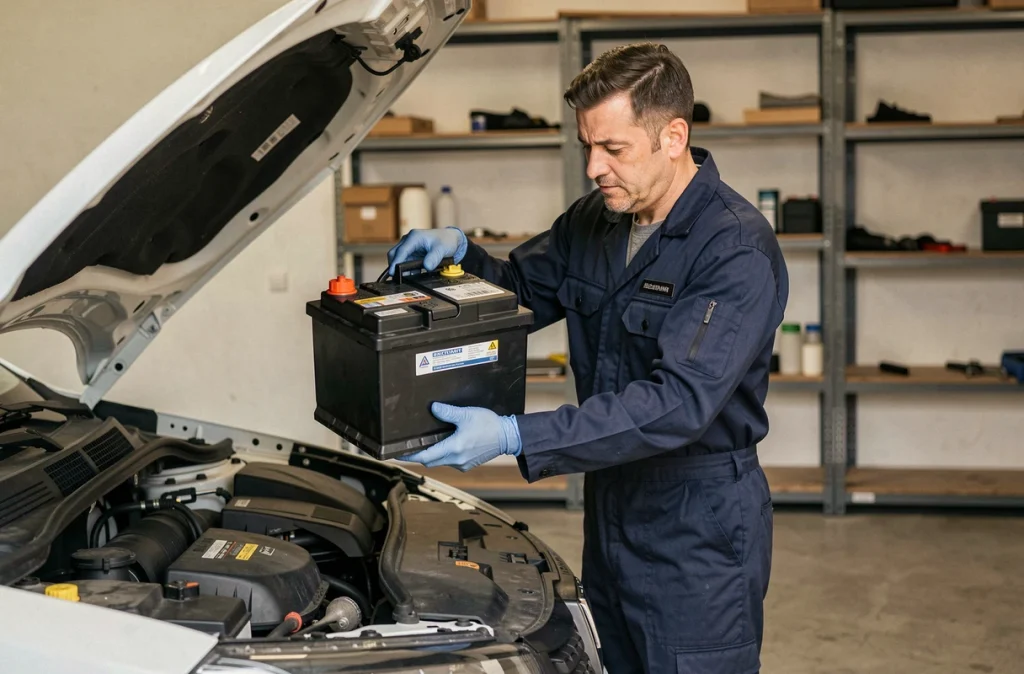
The Dacia Jogger comes with a 12-volt battery located in the engine compartment, accessible without complex disassembly. Replacing this battery yourself is within the reach of most drivers, provided that a few precautions related to the vehicle’s onboard electronics are observed. The starting point, even before touching a tool, is to identify the exact technology of the original battery installed.
AGM, EFB, or conventional lead battery: what the Dacia Jogger really requires
Competitors often simply list the disassembly steps. However, the choice of the replacement battery deserves full attention, as a mistake at this stage can lead to lasting malfunctions.
On Dacia Joggers equipped with the Start-Stop system, the manufacturer mandates an AGM or EFB battery. Installing a conventional lead battery on a vehicle designed for Start-Stop is explicitly prohibited. The reason lies in the ability of these technologies to withstand rapid charge and discharge cycles, which conventional lead cannot handle in this context.
Before purchasing, check the label on the original battery. It indicates the technology (AGM or EFB), the capacity in ampere-hours, and the cold cranking amps. These three parameters must match the new battery. Respecting the polarity and the physical dimensions of the tray seems obvious, but a deviation of a few millimeters is enough to prevent proper fitting in its housing.
For those who wish to install a Dacia Jogger battery with a detailed guide, checking technological compatibility remains a crucial preliminary step not to be overlooked.
Disconnecting the Dacia Jogger battery: order and electronic precautions
The Dacia owner’s manual emphasizes a point that video tutorials sometimes overlook: wait at least one minute after turning off the engine before disconnecting anything. This delay allows the control units to complete their memory writing cycles.
Turn off all electrical consumers (dome light, radio, headlights) before starting. A common oversight concerns accessories plugged into the 12-volt socket, such as a phone charger or a dashcam.
Disconnection and reconnection sequence
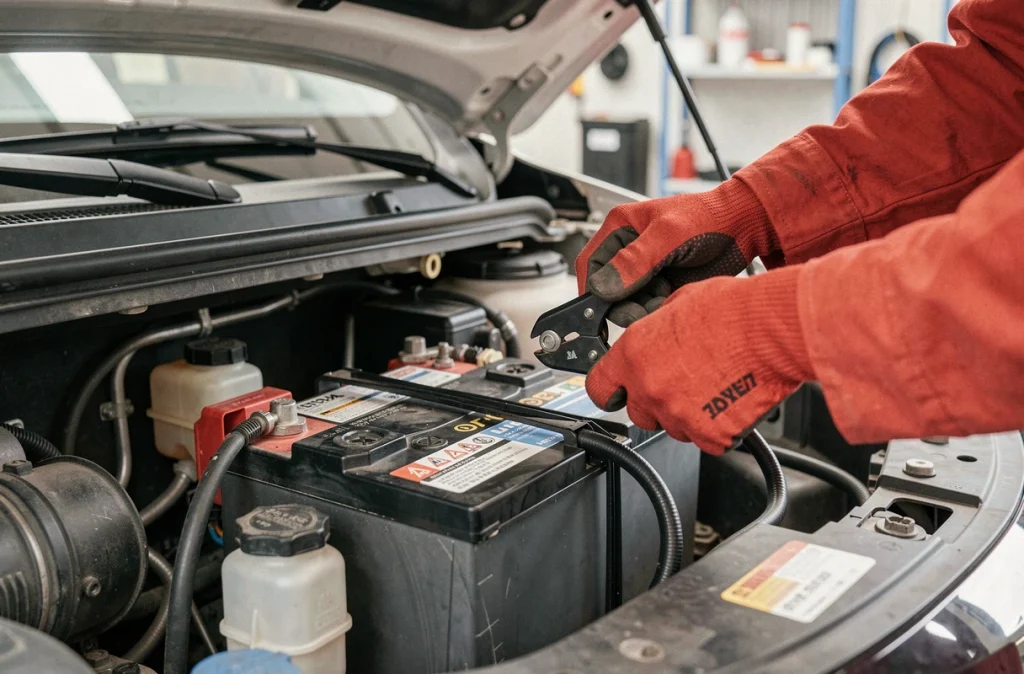
- First, disconnect the negative terminal (marked “-“), then the positive terminal (“+”). This sequence avoids any risk of short-circuiting if your key contacts the bodywork.
- Remove the battery hold-down bracket using an appropriate wrench, usually a 10 or 13 depending on the version of the Jogger.
- When reinstalling, proceed in reverse order: place the new battery, secure the bracket, and connect the positive terminal first, then the negative terminal.
- Never place a metallic object on the battery, even briefly, to avoid creating a bridge between the terminals.
The Dacia manual specifies that the charger used must be compatible with a nominal voltage of 12 volts. If you recharge the battery before installation, stop the charger before connecting or disconnecting the cables.
Start-Stop disabled after replacement: the trap of the non-reset BMS
Many Jogger owners find that the Start-Stop system stops working after a battery change. The dedicated warning light remains lit in orange on the dashboard, and the engine no longer shuts off at red lights. This behavior is not a defect: it indicates that the battery management system (BMS) has not been informed of the replacement.
On recent Dacia models, registering the new battery in the BMS is recommended to restore normal operation of the energy management system. Without this step, the control unit continues to operate with the parameters of the old battery. The charge may then be poorly regulated by the alternator, shortening the lifespan of the new battery.
BMS reset: garage or diagnostic tool
Two options are available. The first is to entrust this operation to a garage equipped with a compatible Dacia diagnostic tool. The operation takes a few minutes and usually costs little. The second option, for DIY enthusiasts equipped with an OBD-II tool capable of communicating with the Renault/Dacia protocol.
Field reports vary on the absolute necessity of this reset. Some owners report a spontaneous return of Start-Stop after a few dozen kilometers, allowing the BMS to recalibrate its measurements. In contrast, others find persistent deactivation until the registration is completed. Available data does not allow for a conclusion that the BMS systematically recalibrates itself on all versions of the Jogger.
Signs of battery wear on Dacia Jogger: spotting the right moment
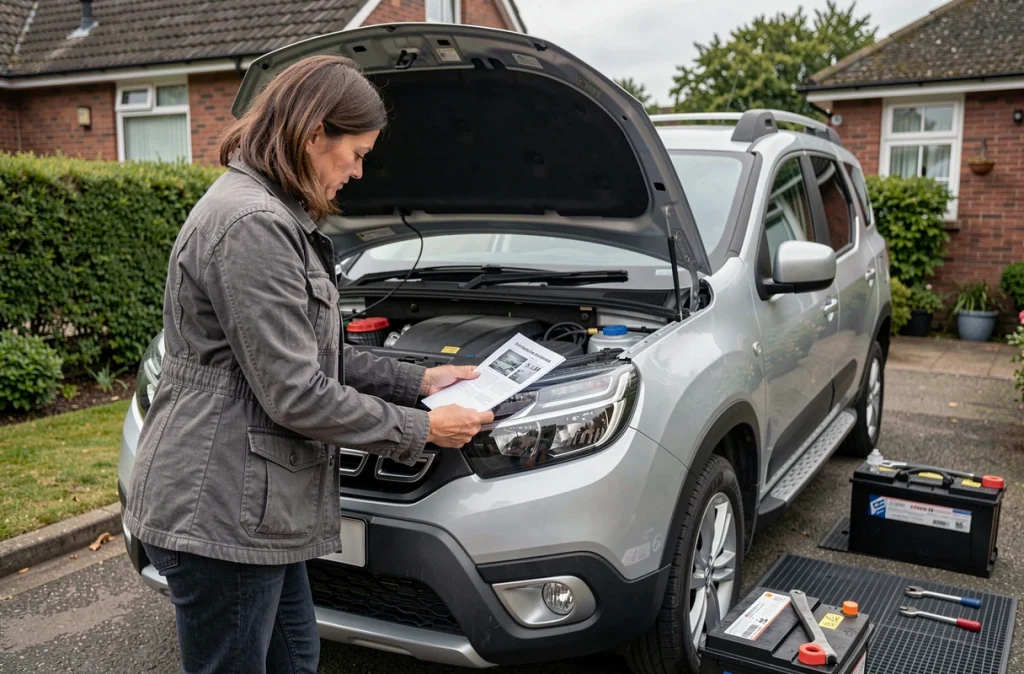
Waiting for a complete failure to change the battery is never a good strategy, especially on a family vehicle. Several signs can help anticipate the replacement.
The first reliable signal on a Jogger equipped with Start-Stop is precisely the automatic deactivation of Start-Stop. When the system shuts down by itself, without apparent reason (normal outside temperature, air conditioning off), the battery begins to weaken. This symptom often appears well before starting difficulties.
A slower than usual start, especially in cold weather, is a second indicator. The battery warning light or electronic system alerts on the dashboard may also signal insufficient voltage. On the Jogger, the onboard energy management system continuously monitors the battery’s status and can trigger preventive alerts.
Replacing the battery before it completely fails also avoids the loss of certain electronic settings (saved radio stations, comfort settings). Disconnecting the battery erases the volatile memories of the control units, requiring manual reprogramming of certain elements after reinstallation. A temporary power supply maintenance via a memory backup cable, plugged into the OBD socket or the cigarette lighter socket, helps limit this inconvenience.
Replacing a battery on a Dacia Jogger remains an accessible task. The difficulty does not lie in the mechanical action but in choosing the right battery technology and managing the BMS after installation. These two points, often absent from quick tutorials, make the difference between a successful replacement and weeks of warning lights on the dashboard.